Creating and Hosting A World of Warcraft Private Server
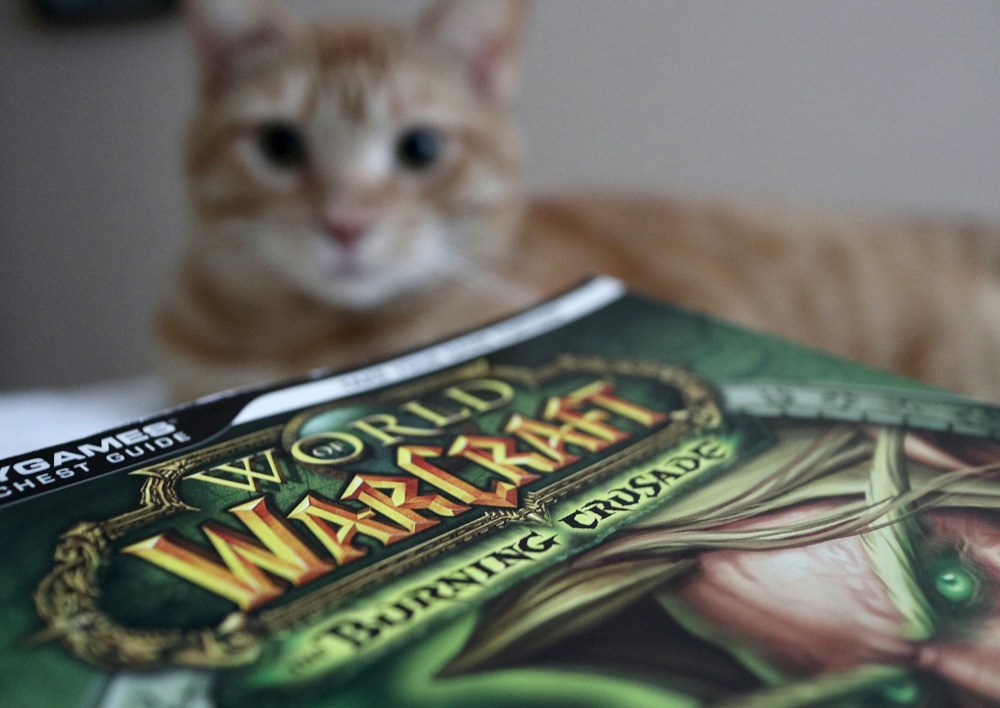 Photo by WTFast on Unsplash.
Lets get this out of the way upfront: I misled you with the leading picture in this article. We are going to set up a private server for the original World of Warcraft, not the expansion of Burning Crusade like is pictured above. It is just a fantastic picture and I felt compelled to use it. That being said, this guide is going to walk you through a step-by-step process to set up a WoW server along with pointing out a number of places you might run into errors.
Requirements
For the purposes of this guide, I am assuming that you are going to run the server on a cloud server running Ubuntu 22.04 (LTS) and that you will be connecting from your local computer. You will need at least 2 CPU cores and 4GB of RAM. You will also need at least 10GB of storage for one of the steps.
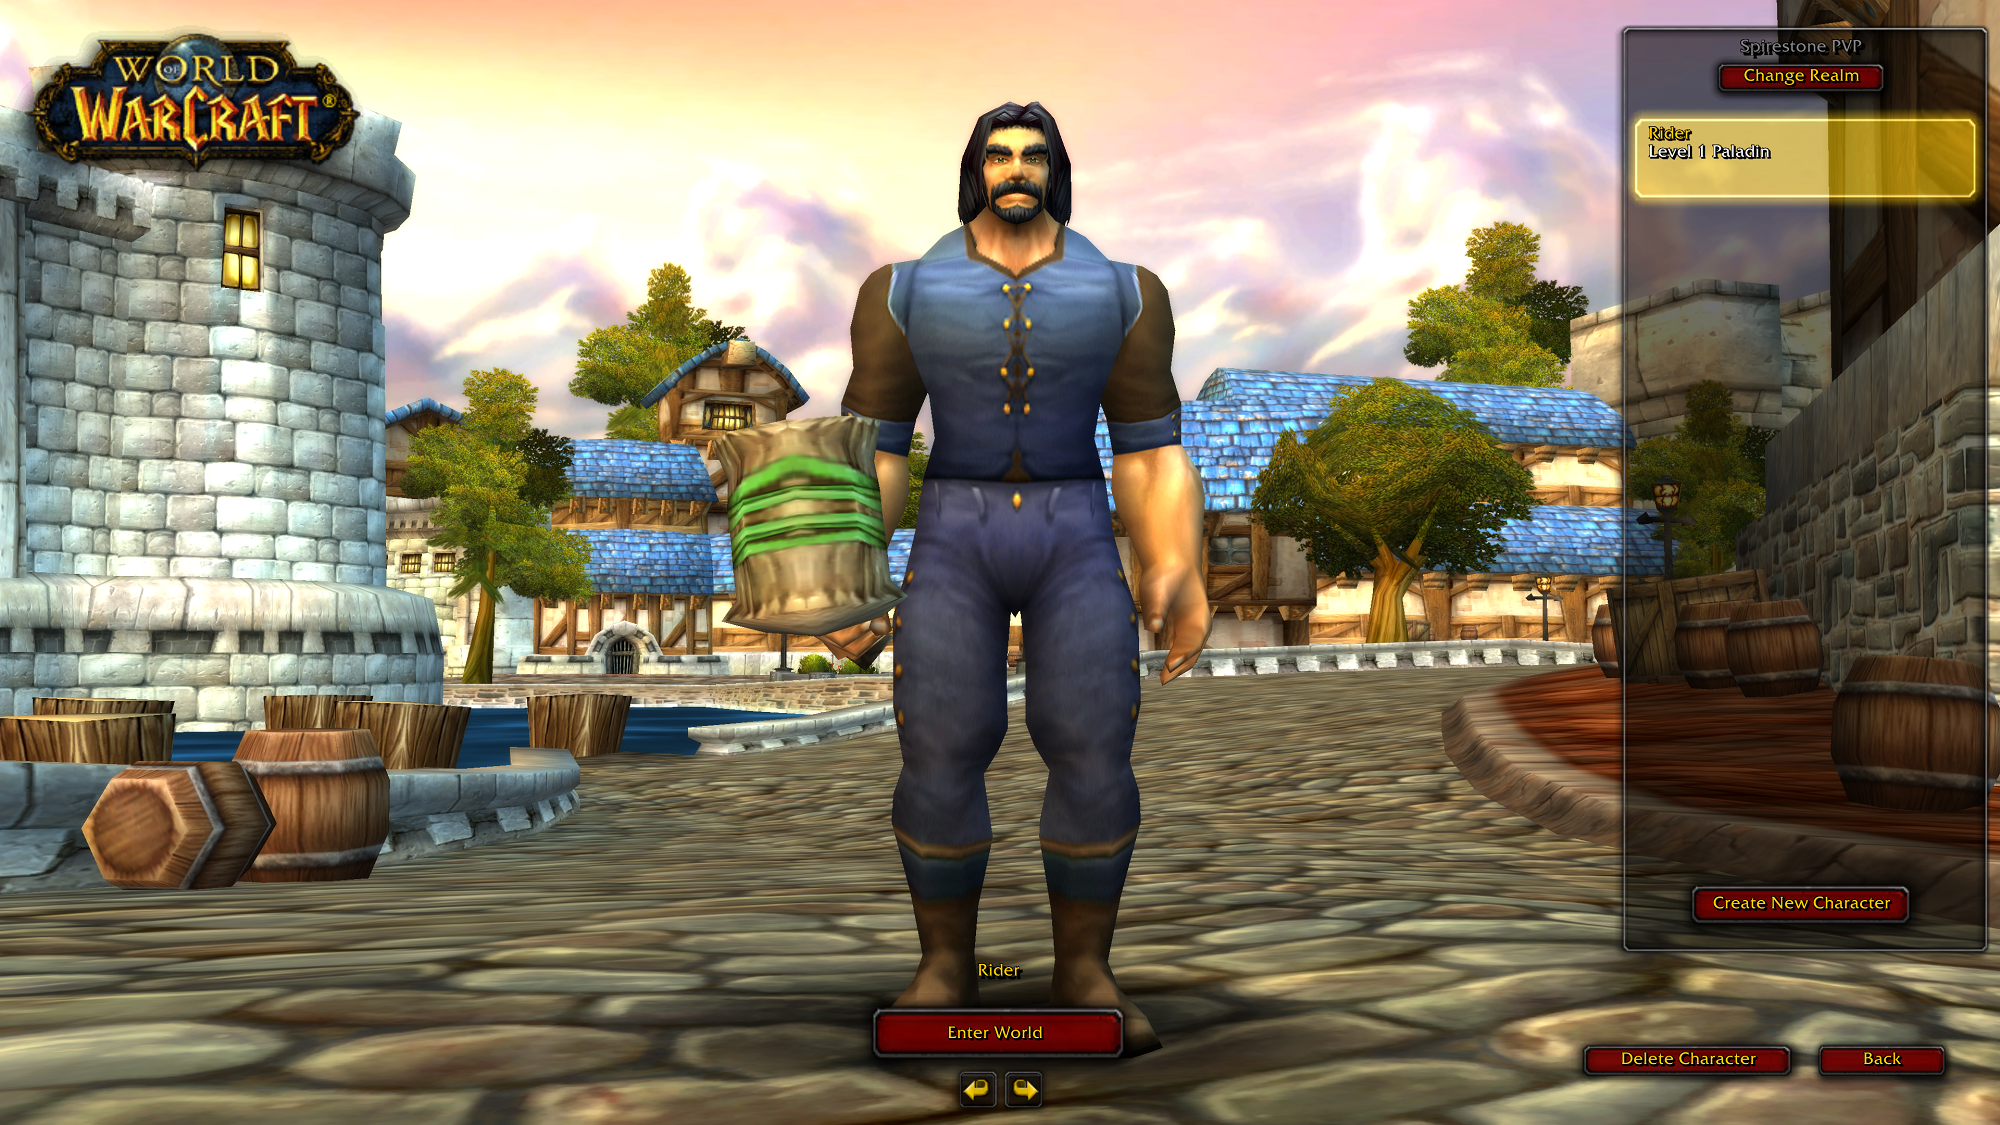
For your local client, you will need the 1.12.1 World of Warcraft client with the build of 5875. Almost all the ones you will find online will be this version but to double check your version, start up the wow.exe and look in the bottom left corner. It should look like this:

A Word On VMaNGOS
We are going to be using the VMaNGOS project for our backend. There are a few different projects out there to emulate the original World of Warcraft but after reading around, it seems like most people agree that VMaNGOS is the most active and up-to-date project for the original World of Warcraft at this time.
When I was working on this project, I followed the guides listed in the wiki for VMaNGOS here and here but I ran into a few issues that were not documented so I decided to streamline the process here. If you run into any issues with my instructions, you can always consult their version or check out their discord as the community is extremely friendly.
Server Setup
If you are unexperienced with linux, the first thing you should do when you set up a server is follow this Digital Ocean guide for initial server setup with ubuntu 22.04. That guide will get you set up with a user other than root and a default firewall which we will be editing later.
Once that is complete and you are logged into your default user, you will want to make sure everything is up to date. Run the following:
sudo apt-get update
sudo apt-get update
This will update all your packages and upgrade them to the latest version.
Server Dependencies
First we will need to install the dependencies that we will use to compile the core.
sudo apt install g++ cmake libmysqlclient-dev openssl libssl-dev checkinstall zlib1g-dev libtbb-dev libace-dev
export ACE_ROOT=/usr/include/ace
export TBB_ROOT_DIR=/usr/include/tbb
Download the core
Next we need to download the core of VMaNGOS
cd ~
mkdir vmangos
cd vmangos
git clone -b development https://github.com/vmangos/core
Then we will configure with CMake
mkdir build
cd build
cmake ~/vmangos/core -DDEBUG=0 -DSUPPORTED_CLIENT_BUILD=5875 -DUSE_EXTRACTORS=1 -DCMAKE_INSTALL_PREFIX=~/vmangos
And then finally we can compile. As part of the make command, you can specify how many cores you want to use for the process. For me, I was using a 2 core server so I instead used make -j2.
make
make install
Extract Data
This section is by far the longest in the whole guide time wise but most of it will just require your patience. Doing this process on a single core took about 20 hours to complete so if you can find these files elsewhere on the internet, it will be faster to download them instead of extracting them. That being said, files on the internet can't always be trusted so if you want to be extra safe, you can just extract them yourself.
The server emulator needs information from the client in order for it to run correctly. When we configured with CMake in the previous step, we passed the option -DUSE_EXTRACTORS=1 and so when we compiled, the program created four files for us to use to extract data from the client. These four files are located ~/vmangos/bin and are called mapextractor, vmapextractor, vmap_assembler, and MoveMapGen. The order of running these is important so make sure you follow these steps closely.
First, the extraction of the files is done on the architecture that you compiled so you will need to copy your local wow client folder up to the server
scp -r /path/to/your/local/client user@x.x.x.x:~
Make sure to replace user with the user you created when setting up your server. Now in your home directory on the server, you should have the vmangos folder and your client folder (or whatever you named it) with all your local files. Then we are going to copy over the extractors and run them in your client folder.
You will probably want to run the extractor process in a screen session so that you can leave it running and check in on it from time to time. To do this, simply type screen -S extraction to create a new screen. Then run the commands below. To disconnect from the screen at any time, use the keys ctrl + a + d. To reconnect to the screen, type screen -r extraction. You can also list your active screen with screen -ls.
cp ~/vmangos/build/contrib/extractor/mapextractor ~/client
cp ~/vmangos/build/contrib/vmap_extractor/vmapextract/vmapextractor ~/client
cp ~/vmangos/build/contrib/vmap_assembler/vmap_assembler ~/client
cp ~/vmangos/build/contrib/mmap/MoveMapGen ~/client
cd ~/client
./mapextractor
./vmapextract
./vmap_assembler
./MoveMapGen
Once the extraction has completed, move there will be a few new folders we care about, namely dbc, maps, vmaps and mmaps. Move these folders to ~/vmangos/bin.
mv dbc ~/vmangos/bin
mv maps ~/vmangos/bin
mv vmaps ~/vmangos/bin
mv mmaps ~/vmangos/bin
For the server to work properly, your dbc folder has to be inside a folder named after the build version of the client. The build number for the 1.12.1 client is 5875.
cd ~/vmangos/bin
mkdir 5875
mv dbc/ 5875/
Notes:
- The
~/clientfolder is no longer needed on the server once we have the extracted data. - Because the extraction takes so long, I made sure to download a local copy of the data so that if I ever lost the server, I wouldn't have to extract again. Without this step, you can spin up a server in about 30 minutes.
Installing MySQL 5.6
World of Warcraft classic requires a 5.5 of 5.6 version of MySQL. Unfortunately, neither of these versions are easy to install on Ubuntu 22.04. That being said, I was able to find a gist on github which I have distilled down:
cd ~
wget https://dev.mysql.com/get/Downloads/MySQL-5.6/mysql-5.6.46-linux-glibc2.12-x86_64.tar.gz
sudo groupadd mysql
sudo useradd -g mysql mysql
sudo tar -xvf mysql-5.6.46-linux-glibc2.12-x86_64.tar.gz
sudo mv mysql-5.6.46-linux-glibc2.12-x86_64 /usr/local/
cd /usr/local
sudo mv mysql-5.6.46-linux-glibc2.12-x86_64 mysql
cd mysql
sudo chown -R mysql:mysql *
At this point while I was installing, the guide wanted me to install two packages, libaio1 and libncurses5 which was not in my package repository. I found a helpful StackExchange comment that suggested to restore the default APT repository. This is a single command:
cat <<EOF | sudo tee /etc/apt/sources.list
deb http://archive.ubuntu.com/ubuntu/ focal main universe multiverse restricted
deb http://security.ubuntu.com/ubuntu/ focal-security main universe multiverse restricted
deb http://archive.ubuntu.com/ubuntu/ focal-updates main universe multiverse restricted
deb http://archive.ubuntu.com/ubuntu/ focal-backports main universe multiverse restricted

deb-src http://archive.ubuntu.com/ubuntu/ focal main universe multiverse restricted
deb-src http://security.ubuntu.com/ubuntu/ focal-security main universe multiverse restricted
deb-src http://archive.ubuntu.com/ubuntu/ focal-updates main universe multiverse restricted
deb-src http://archive.ubuntu.com/ubuntu/ focal-backports main universe multiverse restricted
EOF
Once you run that, then update the package list
sudo apt-get update
After this you should be able to continue the installation steps.
sudo apt-get install libaio1 libncurses5
sudo scripts/mysql_install_db --user=mysql
sudo chown -R root .
sudo chown -R mysql data
sudo cp support-files/my-default.cnf /etc/my.cnf
sudo bin/mysqld_safe --user=mysql
sudo cp support-files/mysql.server /etc/init.d/mysql.server
sudo bin/mysqladmin -u root password '[your new password]'
sudo ln -s /usr/local/mysql/bin/mysql /usr/local/bin/mysql
sudo update-rc.d -f mysql.server defaults
sudo reboot
After rebooting, log back in and check the status of mySQL to make sure its running
sudo /etc/init.d/mysql.server status
Setting Up the Database
Now that we have the correct version of MySQL running, we can start working towards populating the database. The first step is to download the most recent version of the world database on brotalnia's github. For me, the most recent version was world_full_14_june_2021.7z. Download it locally and extract the file and then scp up to your server into the sql folder. We will be using this file to populate a massive chunk of our database in just a moment.
scp /path/to/the/file/world_full_14_june_2021.sql user@x.x.x.x:~/vmangos/core/sql
Once that is complete, you can switch back to your server, change to the correct directory, and login to MySQL.
cd ~/vmangos/core/sql
mysql -u root -p
Now we are going to create a mangos user, a few databases, and grant some privileges to the mangos user so that it can use these databases.
CREATE USER 'mangos'@'localhost' IDENTIFIED BY 'mangos';
CREATE DATABASE logs;
CREATE DATABASE realmd;
CREATE DATABASE characters;
CREATE DATABASE mangos;
GRANT ALL PRIVILEGES ON `logs` . * TO 'mangos'@'localhost' WITH GRANT OPTION;
GRANT ALL PRIVILEGES ON `realmd` . * TO 'mangos'@'localhost' WITH GRANT OPTION;
GRANT ALL PRIVILEGES ON `characters` . * TO 'mangos'@'localhost' WITH GRANT OPTION;
GRANT ALL PRIVILEGES ON `mangos` . * TO 'mangos'@'localhost' WITH GRANT OPTION;
Next, we will populate the databases we just created with information using files that are provided by vmangos and also with the world database file we just uploaded. The source command is used to load a .sql file into MySQL which is why are we in the ~/vmangos/core/sql directory.
USE logs;
source logs.sql;
USE realmd;
source logon.sql;
USE characters;
source characters.sql;
USE mangos;
source [LATEST_DB_FILE].sql;
exit
Once this completes, all your databases should be populated and you should be exited out of MySQL and back in the sql folder. Now we need to run migrations on the data that we loaded into our databases.
cd migrations
./merge.sh
The merge.sh file batches a bunch of migrations into a few easy to use files. Log back into MySQL.
mysql -u root -p
I have included one extra line in the next commend that increases max_allowed_packet. For some reason, I was running into an issue after running these migrations scripts where my server wouldn't start because some of my migrations had failed silently. By increasing the max_allowed_packet, the migrations were able to complete. This fix was based on this StackOverflow comment.
set global max_allowed_packet=268435456;
USE logs;
source logs_db_updates.sql;
USE realmd;
source logon_db_updates.sql;
USE characters;
source characters_db_updates.sql;
USE mangos;
source world_db_updates.sql;
Our world database is now complete, we just have one more addition to make which is adding our server to the realmd database.
USE realmd;
INSERT INTO realmlist (name, address) VALUES ('YOUR_REALM_NAME', 'YOUR_SERVER_PUBLIC_IP');
You can view it in your database with the following command.
SELECT * FROM realmlist;
You can now exit MySQL with the exit command.
Final Configuration
In order to run, the two main processes need config files. VMaNGOS provides out of the box configuration that we most likely don't need to change so simply copy the files while renaming them.
cp ~/vmangos/etc/mangosd.conf.dist ~/vmangos/etc/mangosd.conf
cp ~/vmangos/etc/realmd.conf.dist ~/vmangos/etc/realmd.conf
Check the contents of the files and make sure that the connection strings are correct. For example:
LoginDatabase.Info = "127.0.0.1;3306;mangos;mangos;realmd"
This connection string is what lets the application connect to the MySQL database so if you changed anything during the user creation in MySQL, you will need to edit these files.
You will also need to open two ports so that you can connect from your local computer up to your server. Port 3724 is used for authentication and the port 8085 is used for the world.
sudo ufw allow 3724/tcp
sudo ufw allow 8085/tcp
sudo ufw status
You should see both ports listed in the output.
Running The Server
We are now ready to run the server. I like to run them in screen sessions so first we will start the authentication server
cd ~/vmangos/bin
screen -S realmd
./realmd
You should see the application start up. Disconnect from this screen session with ctrl + a + d. Next, start up the core mangos application
screen -S mangosd
./mangosd
This might take 30 seconds or so but once the screen stops scrolling, that means your server is now up and running!
Note: If you get errors about missing database migrations, make sure that you have the most recent world database file and that you correctly ran the migrations in the step above.
Before disconnecting from the screen, you will need to create an account for yourself. These will be your login credentials and this is how you will create an account for another user as well. In the mangosd screen, type the following:
account create <user> <pass>
You will also probably want to make your account either a GM or an admin.
Level 	Security Level
-----   ---------------
0 	    SEC_PLAYER
1 	    SEC_MODERATOR
2 	    SEC_GAMEMASTER
3 	    SEC_ADMINISTRATOR
Use the table above to decide which level you want to give yourself or others.
account set gmlevel <user> <level> -1
You can now disconnect from the screen session using ctrl + a + d.
Setting your Realm List
On your local computer, open your client folder and locate your realmlist.WTF file. Open this in your favorite text editor. Change the content of the file to be
set realmlist x.x.x.x
where x.x.x.x is the IP of your server. Save the file, boot up the WoW.exe, and login with the user account you created in the "Running The Server" section of this article.
Note: If you cant login, try the following:
- Double check the IP that you put in your realmlist.WTF and make sure it saved
- Verify your account name and password you created (you can view output in the realmd screen if there are authentication issues)
- Make sure that you opened the correct ports on your server
- Try reloading the ufw and make sure it took effect
- Try rebooting the server and restarting the realmd and mangosd processes
Conclusion
I hope you enjoy your time in the World of Warcraft! I really loved the old version of this game and I am so happy there is a community that has formed around keeping that best parts of this game alive. My least favorite part of any MMORPG is the fact that I didn't feel like a real hero because there were 1000 other people out there doing the same quests as me. Now I can play with my close friends and we can be the champions of Azeroth.
Final Notes
Now that you have full control, don't forget that you can modify values in the database. Things like health and damage can be modified to make content easier or harder. Consider changing the health of elite mobs or dungeon mobs so you and a friend can still enjoy Deadmines even though you don't have a full party. And make sure to look into the GM commands like XP rate changes, teleporting around the map, or even making NPCs say things. I found a good list on dkpminus.
If you are interested in playing the Wrath of the Lich King expansion, I highly recommend AzerothCore, they have a great guide to hosting your own server (which I relied heavily on while navigating the vmangos quirks) and a very friendly discord. They also have mod packages that you can install for things like:
- Adding bots to your world to make it feel more alive
- Adding an auction house bot to simulate many people putting up auctions
- Adding a progression system where you can modify what patch you're on, the level cap, and what dungeons/raids are available